

Screening in an existing deck looks like a weekend project, and the framing portion mostly is. What separates a porch that stays taut and bug-free for a decade from one that sags by the second summer is a set of decisions the framing tutorials skip: which mesh you buy, how you attach it, and whether your deck was ever structurally meant to carry walls at all. Before the first 2×4 goes down, it pays to work through those in order.
Project at a Glance
| Skill level | Intermediate DIY (confident with a circular saw and framing square) |
| Typical DIY materials cost | $600–$1,500 for an existing 12×16 ft (3.7×4.9 m) deck |
| Professional conversion | $2,000–$5,000+ depending on region and roof condition |
| Time | 2–3 weekends solo; one with help |
| Key materials | Pressure-treated 2x4s, screening (fiberglass, aluminum, or polyester), spline or lath, exterior screws, screen door kit |
Start With What the Deck Can Carry
A screened porch is a wall system, and walls transfer load. Before framing, confirm three things. First, that the deck’s ledger board is lag-bolted or through-bolted to the house rim joist — not just nailed, which was common in older construction and is the leading cause of deck failures. Second, that the footings can take the added dead load of framing plus, if you’re in snow country, whatever a roof will shed onto the structure. Third, that you’ve called your local building department: in most US jurisdictions, enclosing a deck requires a permit, and any deck surface more than 30 inches (76 cm) above grade needs a guardrail-height barrier under the International Residential Code regardless of screening.
If the bones check out, the framing sequence is the familiar one: a pressure-treated 2×4 sill plate anchored around the perimeter (lag bolts into wood framing, concrete anchors into slab), squared with a framing square before anything is fastened. A top plate goes against the ceiling or beam, and studs run between the two — checked for plumb individually, because screen panels will telegraph every lean.
Let the Screen Roll Set Your Stud Spacing
Here’s the step most guides get backwards: measure your screening before you place a single stud. Screen rolls come in standard widths — 36, 48, and 60 inches (91, 122, and 152 cm) — and your bays should be sized so each panel spans stud to stud with an inch or two of working margin. Frame at a generic 24 inches on center and you’ll waste half of every roll; frame wider than your roll and you’ll be splicing seams mid-bay, which never stays invisible.
The mesh itself is the decision the original builders of most sagging porches got wrong:
- Fiberglass (standard 18×14 mesh) is the default: cheap, forgiving to stretch, and it doesn’t crease. It’s also the easiest to tear and typically lasts 7–10 years.
- Aluminum resists tearing and sagging better but dents permanently and can oxidize near the coast.
- Vinyl-coated polyester (“pet screen”) is roughly seven times stronger than fiberglass — the right call at dog height even if you only use it on the lower panels.
- 20×20 fine mesh is worth the airflow penalty in the Southeast and lake country, where no-see-ums walk straight through standard mesh. Manufacturers like Phifer publish mesh-count and openness specs worth reading before you buy.
Attachment: Staples and Lath, or a Track System
The traditional method — staple the screen to the studs, stretch it taut, then cover the staple lines with primed and painted lath strips — still works, and it’s the cheapest. Staple one vertical edge first, pull the panel drum-tight across the bay, staple the opposite stud, then work top and bottom. Nail lath over every seam: horizontals first, then verticals, so the verticals cap the joints.
The better answer for most DIYers now is a spline-based track system (Screeneze and Screen Tight are the common brands). Aluminum base strips screw to the framing, the screen rolls into the channel with a spline tool, and a vinyl cap snaps over it. It costs more per linear foot, but a torn panel becomes a twenty-minute re-spline instead of a pry-off-the-lath afternoon — a maintenance difference that compounds over the life of the porch.
Hang the screen door last, shimmed on a lath scrap to hold a ¼-inch (6 mm) gap at the slab — enough for the door to swing, tight enough to keep insects out. A self-closing hinge set costs about $15 and eliminates the one failure point every screened porch shares: the door somebody left open.
The Tradeoffs Nobody Mentions
Screening a deck changes how it performs, not just how it looks. Even standard mesh cuts airflow noticeably and reduces light transmission by 10–25 percent depending on mesh count — fine mesh sits at the darker end, which matters if the porch fronts a living room window. Screens also hold pollen and dust and want a gentle hose-down each spring. And because a screened porch counts as covered outdoor space rather than conditioned square footage, it improves livability more reliably than it improves appraised value; a poorly framed one can actively hurt resale.
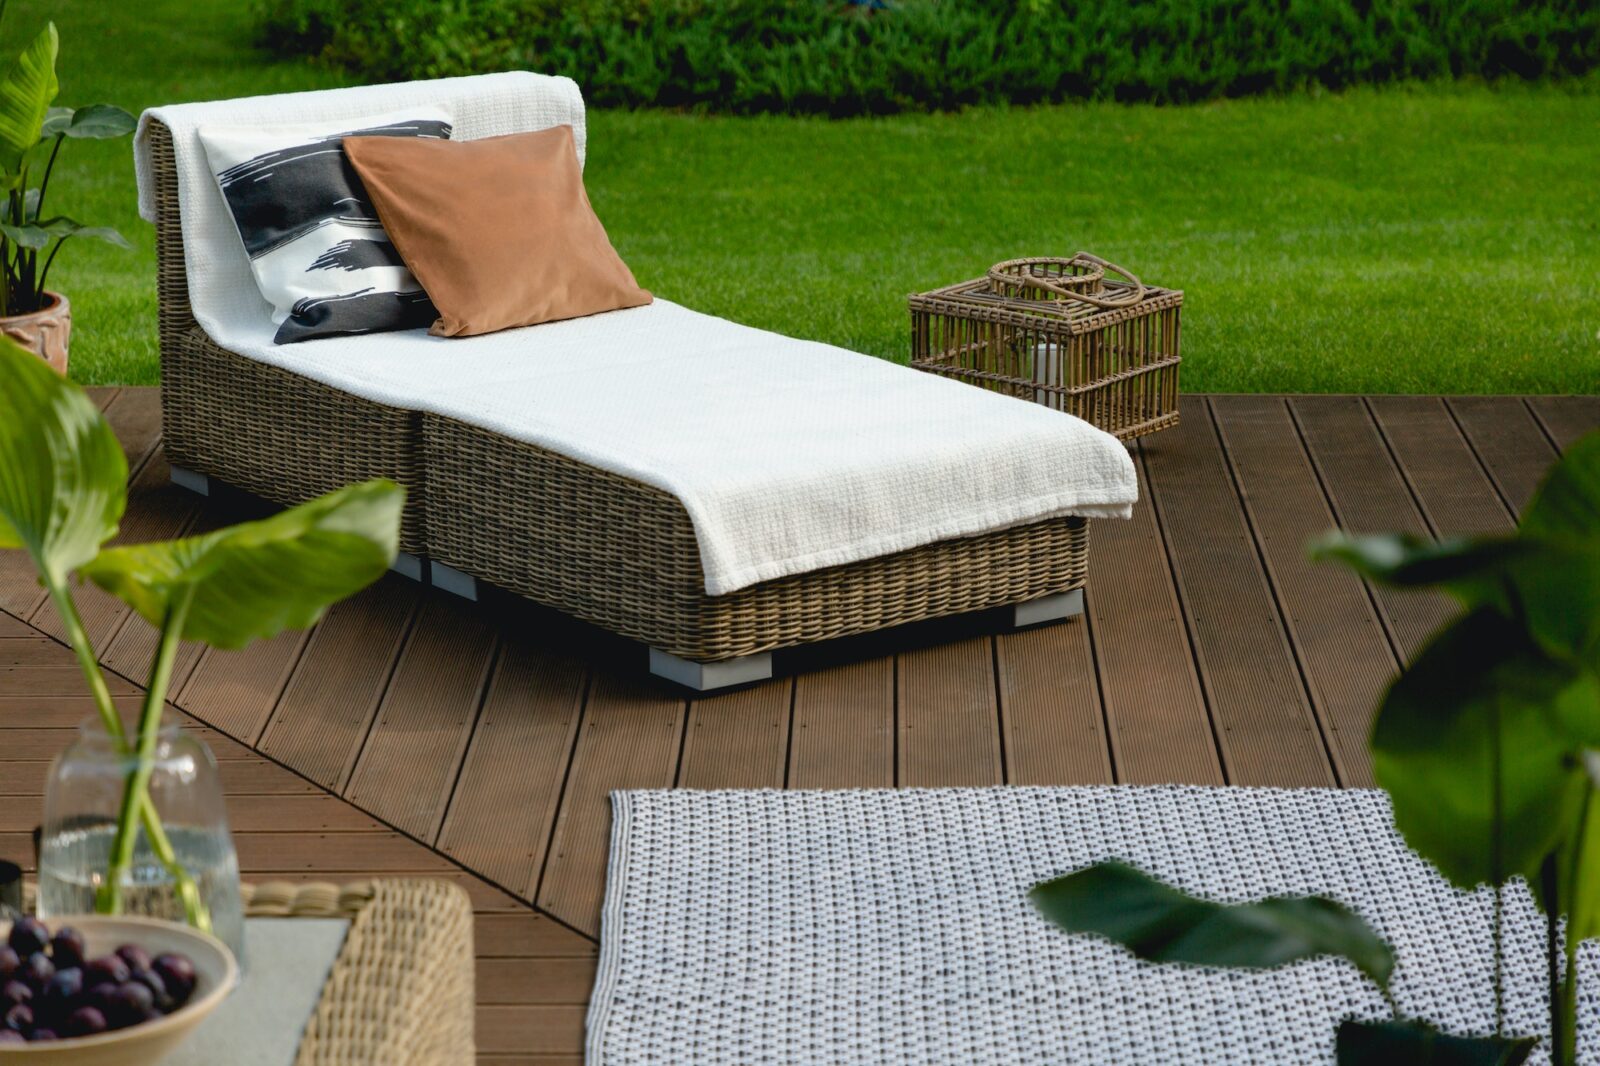
The interior deserves one honest note too: once screened, the space starts behaving like a room, and it will collect furniture. Choose solution-dyed acrylic fabrics and a polypropylene rug rated for covered outdoor use — screening stops bugs, not humidity — a distinction our interior coverage in Tips comes back to often, and the same load-and-envelope thinking applies to the porch and deck projects in Architecture Projects.
Worth a Weekend — If the Deck Earns It
The carpentry here is genuinely within reach of a patient DIYer with a helper. The judgment calls — ledger condition, permit requirements, mesh selection, attachment system — are where the project is actually won or lost, and they all happen before the first cut. So before pricing lumber, ask the harder question: is your deck a finished structure you’re decorating, or a foundation you’re about to make load-bearing?
FAQs
Do I need a permit to screen in an existing deck?
In most US jurisdictions, yes — enclosing a deck changes its classification and triggers a permit, especially if you’re adding a roof. A quick call to your local building department before buying materials can save a forced teardown later.
What’s the best screen material for a porch with dogs?
Vinyl-coated polyester pet screen, at least on the lower 36 inches of each bay. It costs two to three times more than fiberglass but withstands claws and impacts that shred standard mesh.
How much does it cost to screen in a 12×16 deck yourself?
Plan on $600–$1,500 in materials for framing lumber, screening, fasteners, and a door kit — toward the higher end if you use a track system like Screeneze instead of staples and lath. Hiring it out typically runs $2,000–$5,000 or more.
Get gorgeous projects via email
