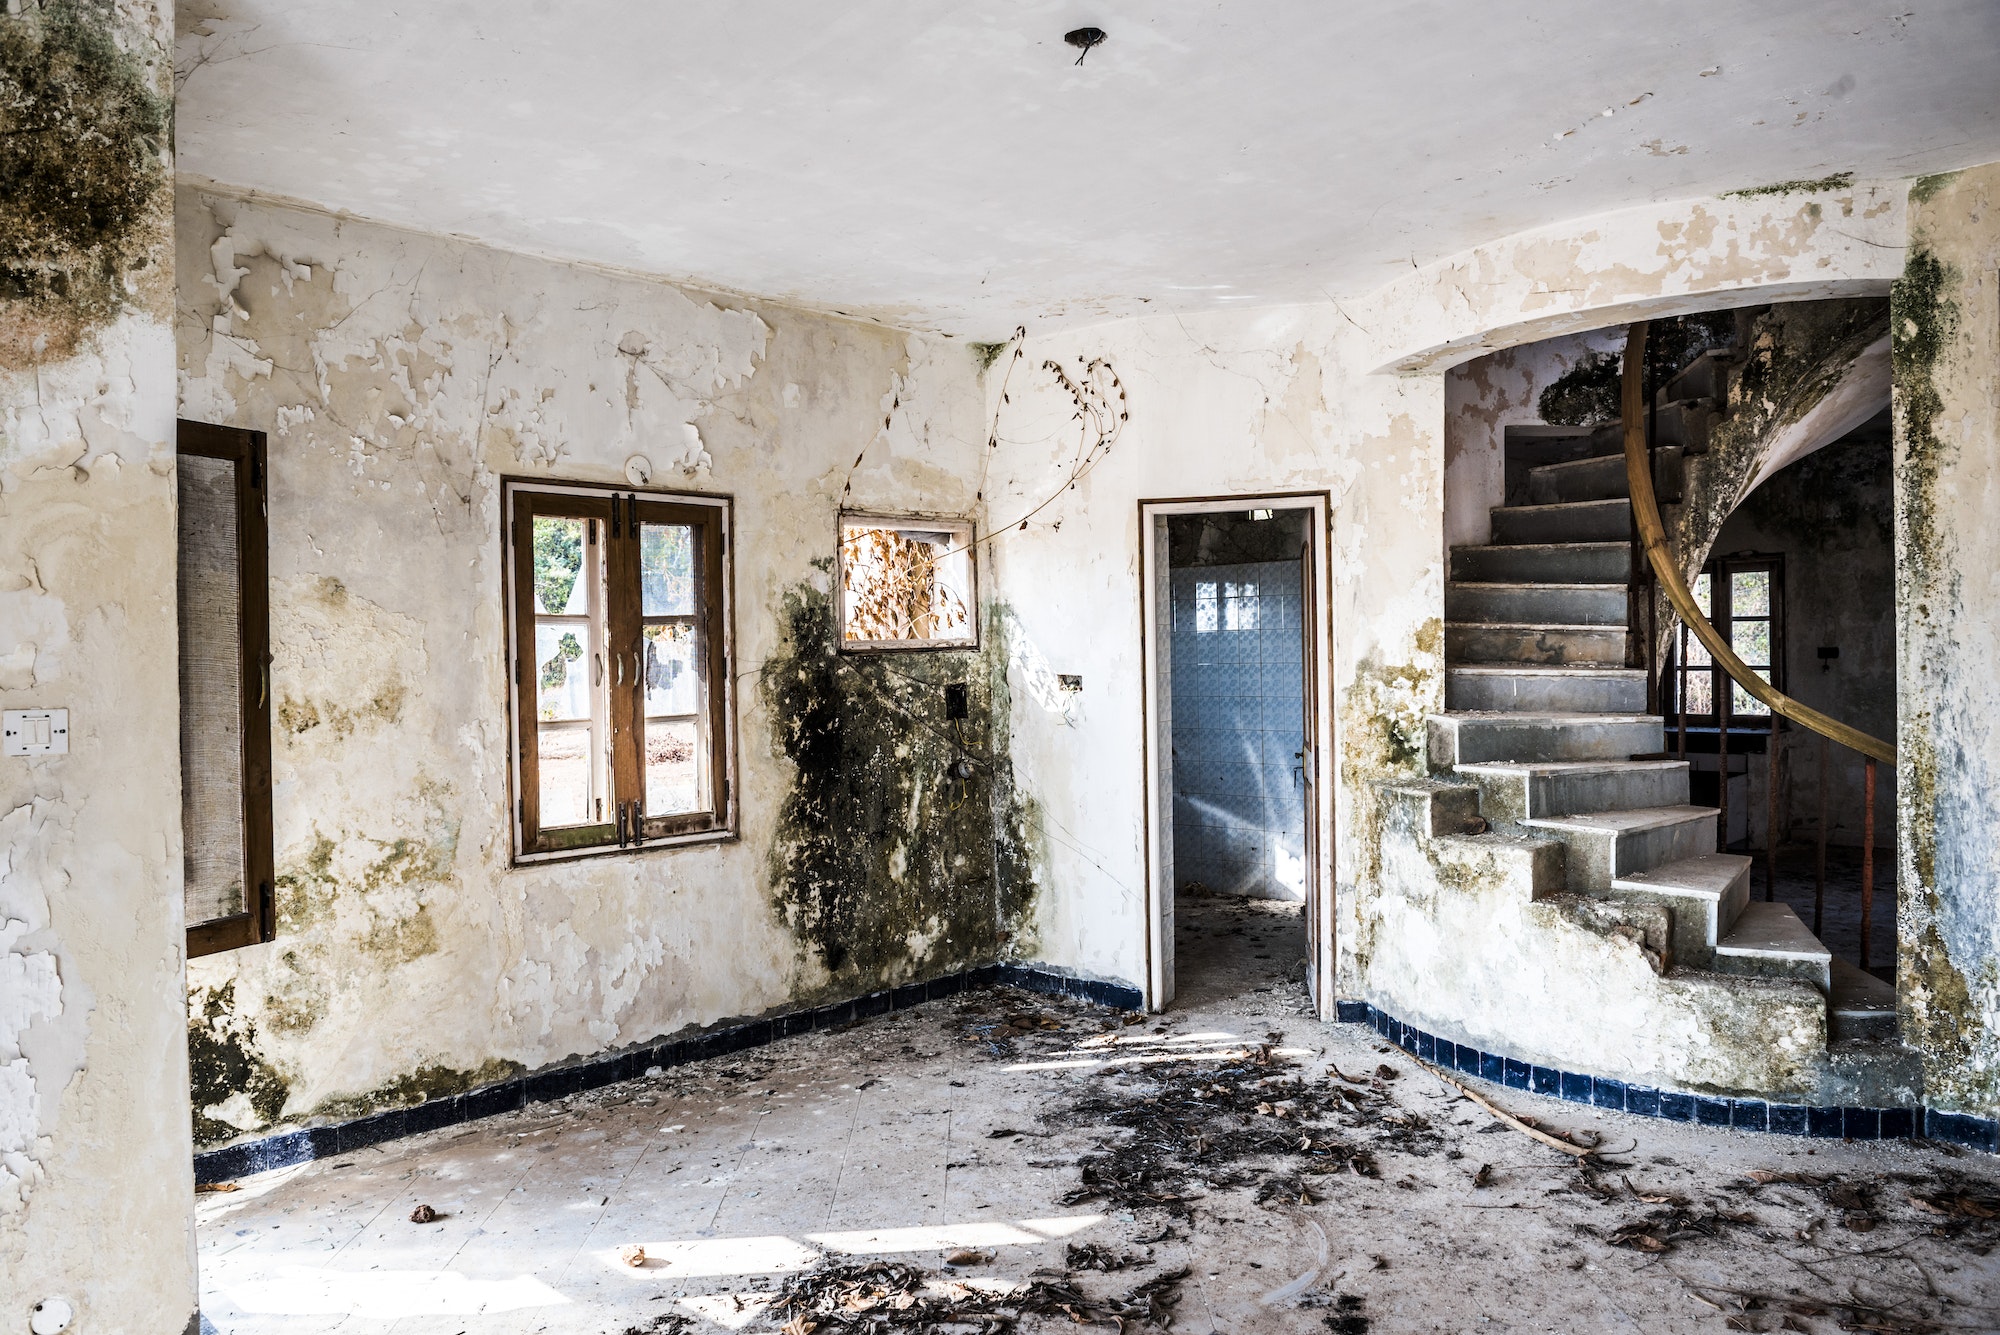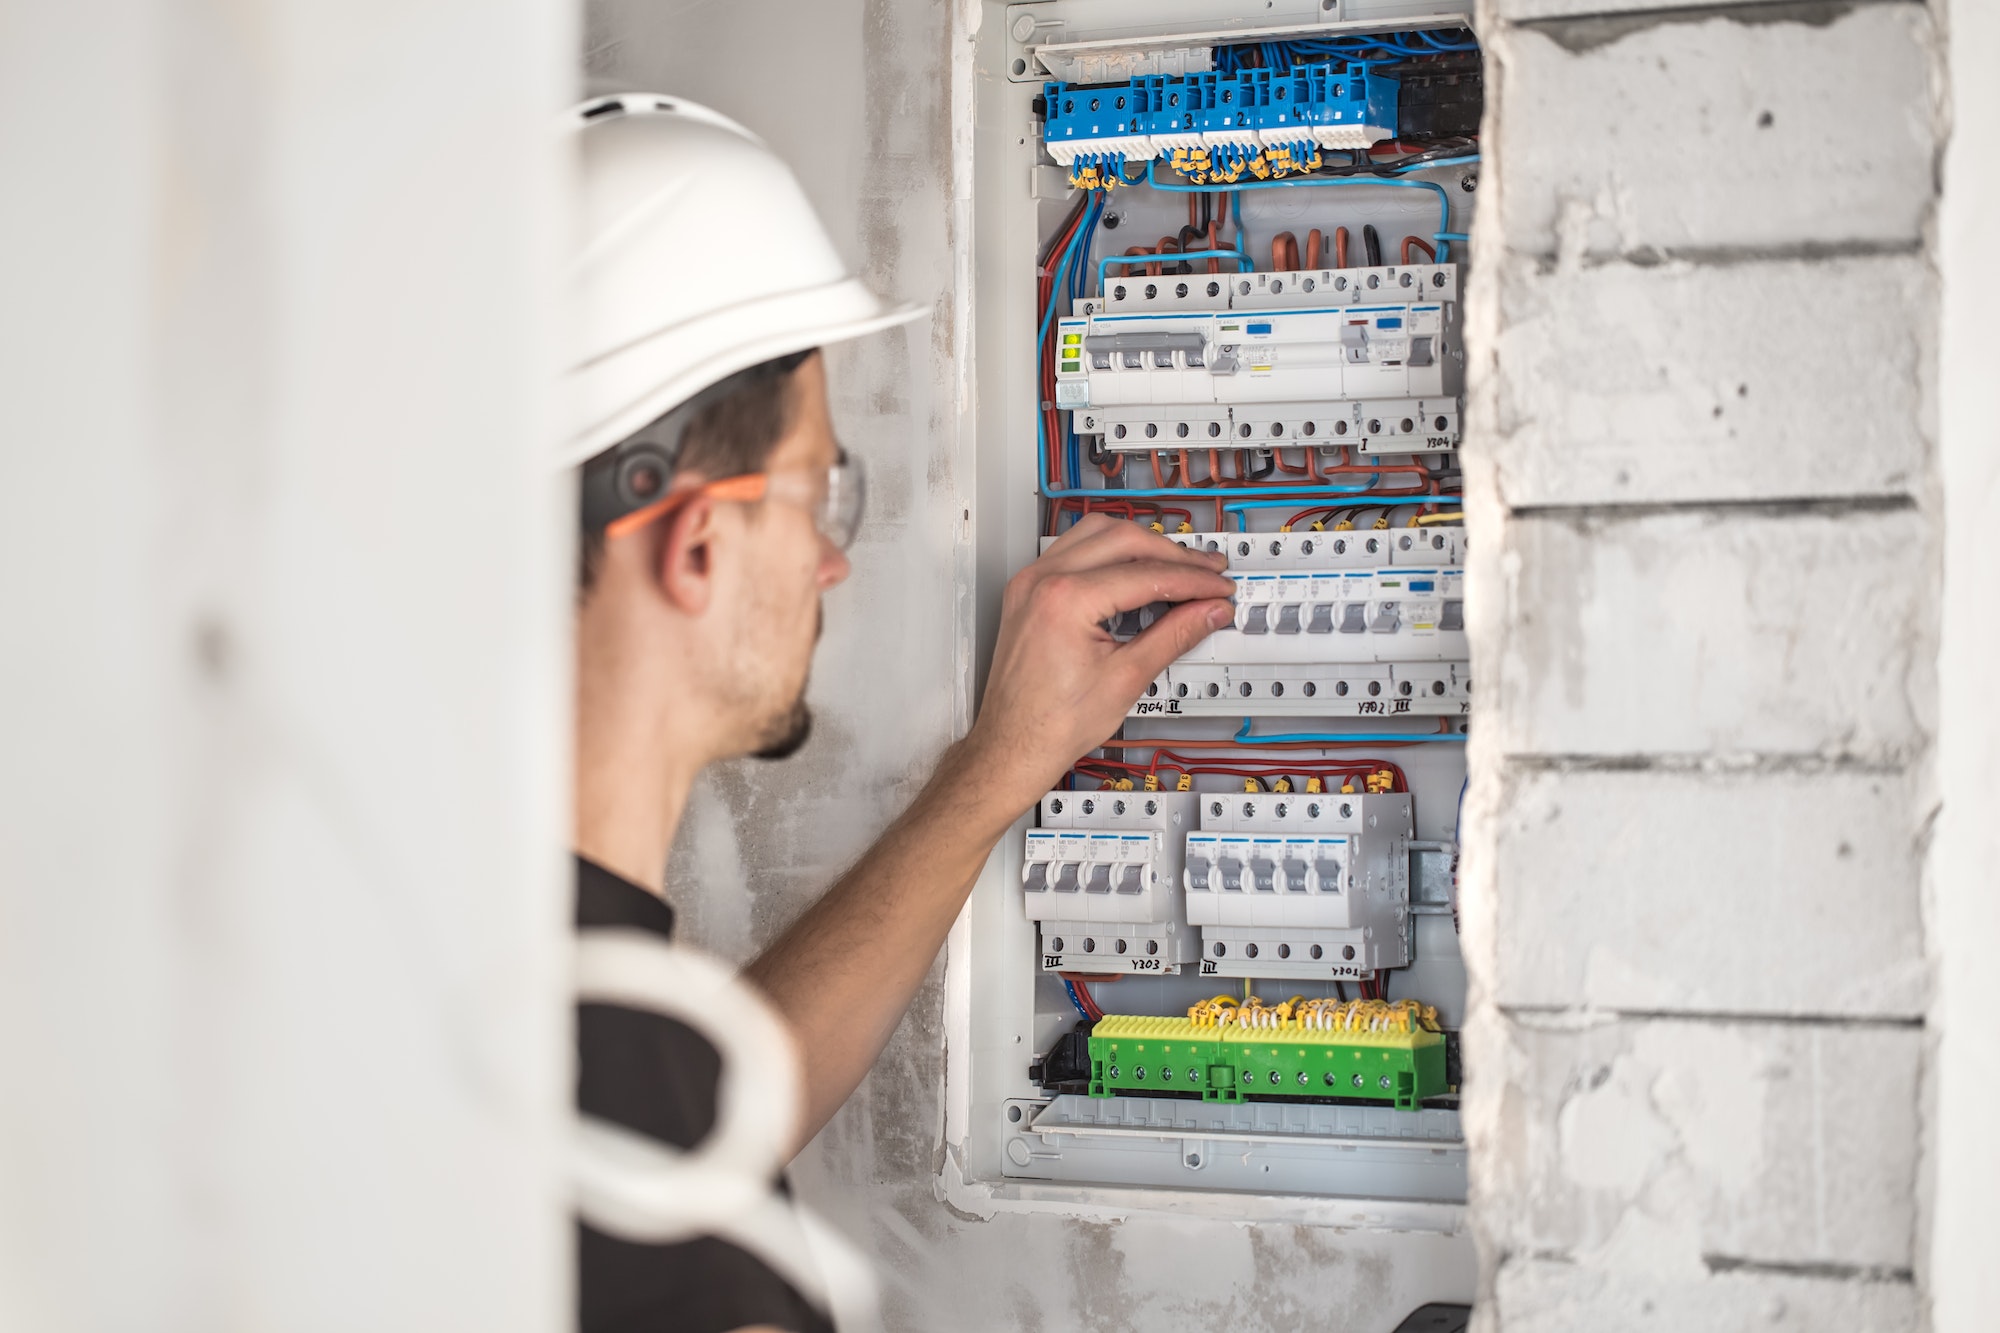
A time might come when you need to connect a circuit breaker. Maybe you are doing a little electrical work in your home, or perhaps you are doing some for your business. In either case, you need to know how to do this safely without risking electrocuting yourself.
Before you go shopping for a great square D 50-amp breaker, let us make sure you know how to protect yourself throughout the installation process. Electrocution can injure or even kill you in some instances, so safety matters with these types of projects.
Shut Off the Power
First, you will shut off the power. This is going to be the first step with any job of this nature. You can do this by flipping off the main breaker, which is typically a double-width switch. You can find it at the top of the circuit box.
Make sure you’re wearing heavy gloves when you do it. You should continue to wear those gloves while installing the breaker, even with the power off.
Use a Cardboard Shield for the Live Areas
Even with the power shut off, you should avoid the lugs and large wires since those are still live. You can use a cardboard shield to cover them while you are installing the breaker.
Remove the Cover
Next, you can remove three of the cover screws from the panel box. Hold onto the cover securely while you’re removing the final screw. At this point, you can test each breaker to make sure it is really dead.
Running the Cable Through the Clamp
Once you’ve put your cardboard shield in place, you can snap in a plastic clamp. You’re now ready to feed in the cable. While holding the cable up to the box, slice off the protective jacket and remove the thin paper insulator.
Wrap the ends of the loose wires carefully with electrical tape. Then, push until the jacket enters the clamp. Secure the cable with an insulated staple outside the box.
Install the Breaker
You can now safely install the breaker. Do so by slipping the tab gently into the hook. You can now slide the breaker into place. You do that by forcing the slot onto the bus, as the copper tab which juts out is known.
You Can Now Strip and Clamp
Next up, you will route the white and black wires to the empty space for the breaker which you have created. Attach those wires neatly to the breaker, and it should snap into the box with no problems. Alternatively, you can install the breaker first and insert the wires afterward.
On the main panel, you’re now free to connect your ground wire from the new cable. If you are installing a breaker on a sub-panel, be sure to place the ground and neutral wires on separate bars of the bus.
All that remains is to test the breaker by pressing the “test” button. If it trips, then congratulations. You have installed the breaker correctly without harming yourself.
Discover more from Futurist Architecture
Subscribe to get the latest posts sent to your email.