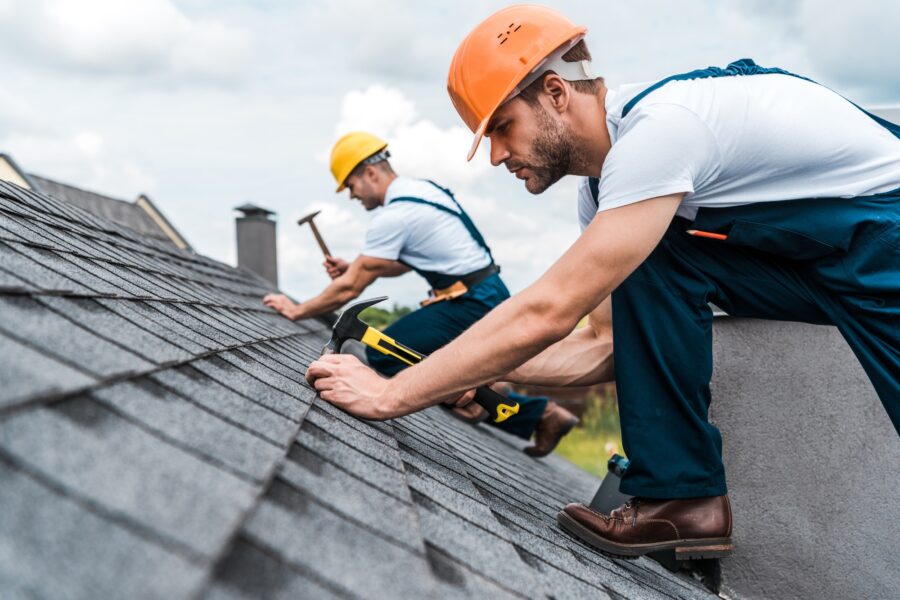
Are you looking to maximize the efficiency of your baling operation? After getting your selected choice from Balingwiredirect.com, installing baling wire correctly is essential to optimizing production and ensuring that your operation runs smoothly. Improperly installed baling wire can lead to costly downtime and potential safety hazards.
This blog post will provide an overview of the best practices for baling wire installation in order to maximize efficiency and minimize downtime. We will also discuss the potential safety hazards associated with baling wire and how to best avoid them. After reading this post, you should have a better understanding of the steps necessary for a successful baling wire installation.
1. Uncoil the baling wire
The first step in installing baling wire for maximum efficiency is to uncoil it. It is important to uncoil the wire in a controlled manner to prevent kinks and twists from forming. This can be done by looping the wire around the ground or a flat surface and then delicately pulling the wire out until it is fully unwound. Make sure to keep the tension on the wire even and consistent. Once the wire is uncoiled, it is ready to be installed.
2. Secure the wire in place
Once you have determined the appropriate tension, secure the wire in place using a baling tool. This tool is designed with two handles that apply pressure on the wire, which ensures the wire stays in the correct tension. Carefully press the baling tool against the wire, making sure the wire is securely held in place. Once the wire is in place, give the handles of the baling tool a final twist to ensure the wire stays in place and the tension is secure.
3. Cut the wire with a heavy-duty cutter
The next step in the installation process is to cut the wire with a heavy-duty cutter. It is important to choose a cutter that is designed to work with the gauge of wire that you are using. When you have chosen the appropriate cutter, use it to cut the wire to the desired length. Take care to make the cut clean and even to ensure the best results. Once the wire is cut, you are ready to begin the baling process.
4. Connect the wire ends together
Once the ends of the baling wire have been cut to the required length, they should be connected together. To ensure maximum efficiency during installation, ensure that the two wire ends are of equal length and securely connect them together using a rope clamp. This will ensure that the wire is in a straight line and that it is secure. Take the time to make sure the connection is tight and will not come undone during baling.
5. Test the connection for secureness
Once you have connected the baling wire to the baling machine, it is important to test the connection for secureness. To do this, you will want to use a screwdriver to make sure that the wire is securely attached to the baling machine. If it is not properly attached, you will want to adjust the connection as necessary to ensure that it is secure. This will help to ensure that your baling wire is functioning properly and securely to maximize efficiency.
Conclusion
Installing baling wire correctly is essential for maximum efficiency and safety. Taking the time to measure the wire correctly and make sure it is secure in the baler will ensure that bales are formed properly every time and that no one is injured in the process. By following these steps, you can ensure that you are getting the most out of your baling wire.
Discover more from Futurist Architecture
Subscribe to get the latest posts sent to your email.