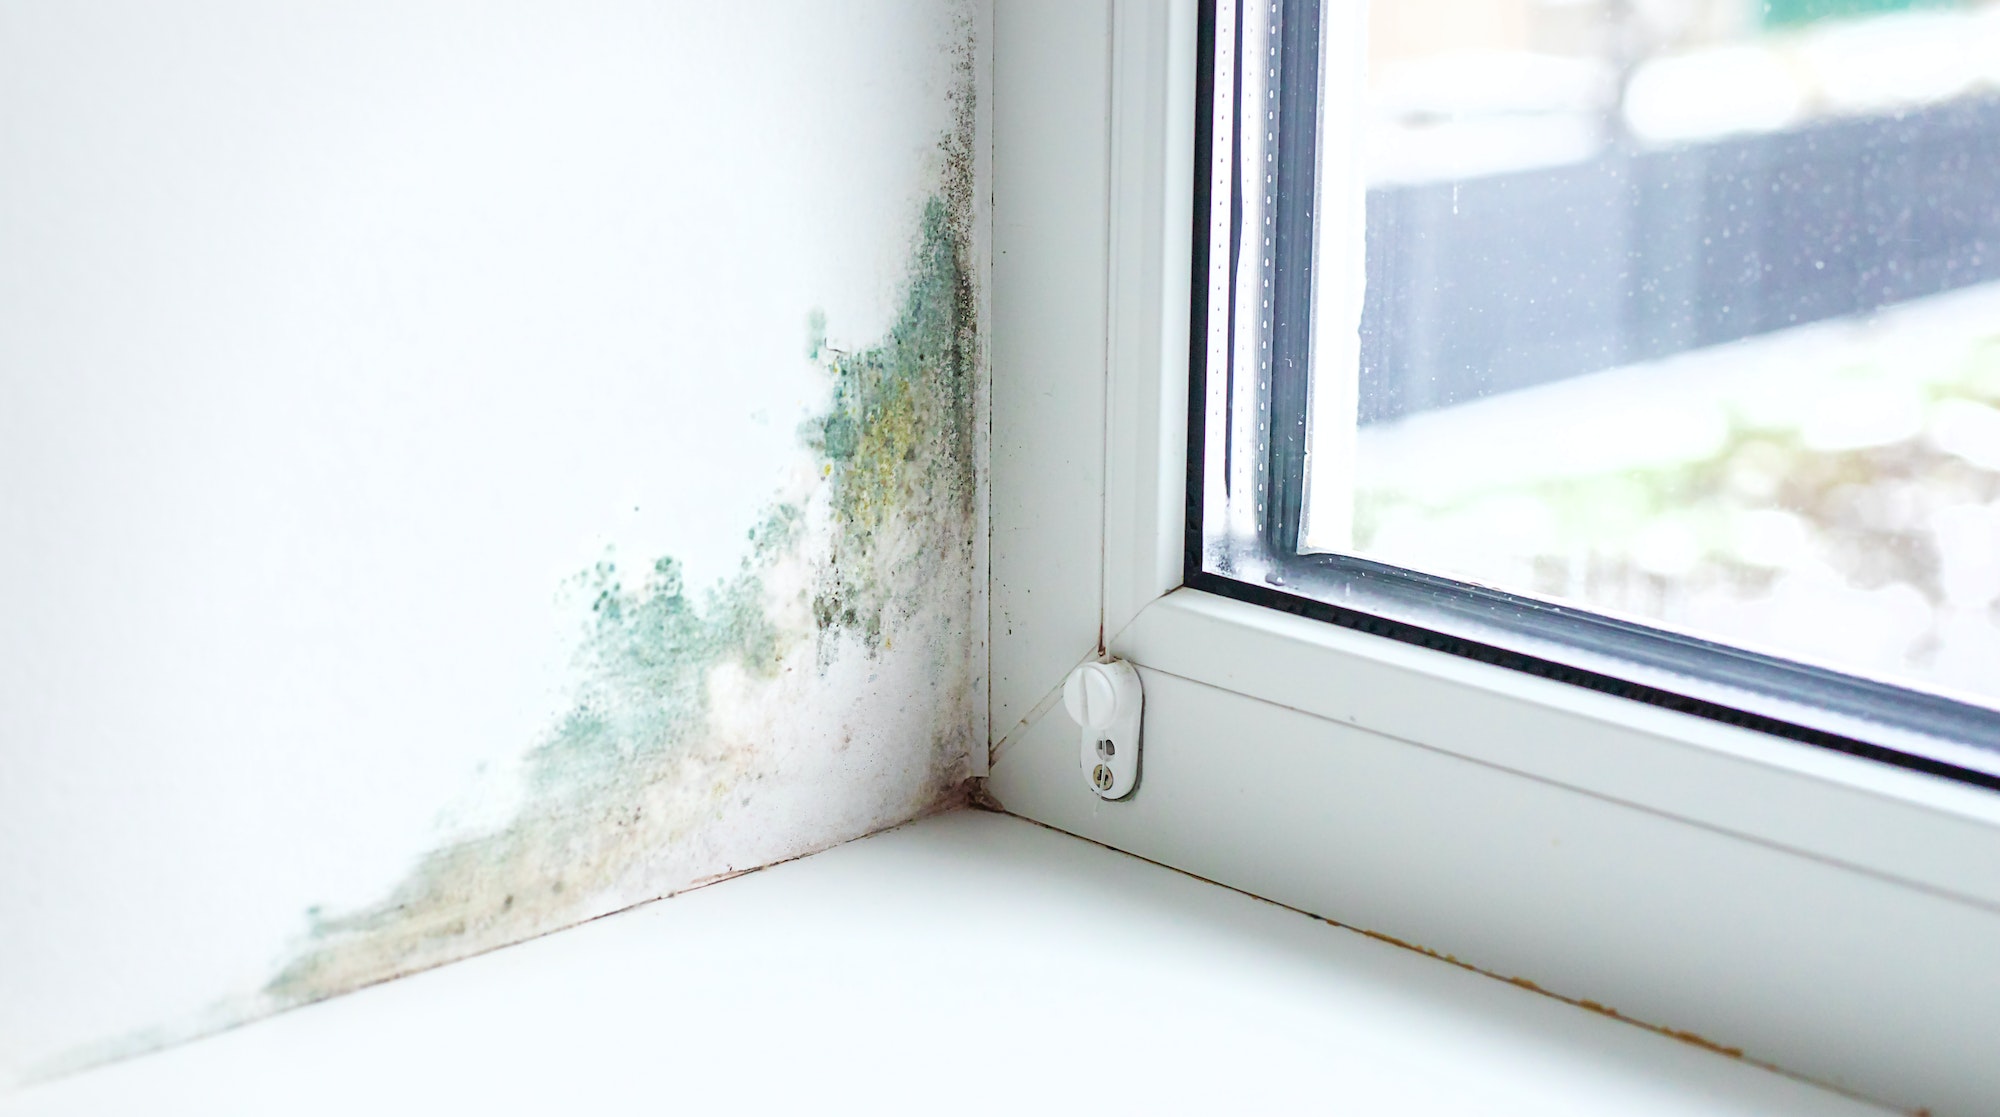
Drywall loses its structural integrity and becomes soft and weak when wet or absorbing too much moisture. Too much moisture penetrating your home can make your walls sustain structural damage. In addition, some individuals might develop respiratory problems due to too much moisture.
Mold growth is another danger from excess wetness. Moldy drywall or walls can be hazardous in addition to being unattractive. Nobody wants these features attached to their walls.
All these reasons and more are why you should ensure that your readings are precise and complete, whether installing brand-new walls or inspecting an old one in a building damaged by moisture. Read along as this article discusses tips for measuring moisture levels in walls.
Why is checking Moisture Levels Important?
Most well-built homes are planned and built with the wear and tear of regular moisture factors in mind. They include protective barriers, cutting-edge infiltration systems, and siding created from materials that are supposed to repel moisture. Nonetheless, the water always finds a way to get inside over time.
It isn’t easy to imagine life without moisture. Unfortunately, that happens all the time, even in your rental property. Humidity, a measurement of moisture in the air, is produced by running baths, boiling water, breathing, and even the elements that make up your home when combined with exterior air. Yet, proper building techniques are meant to stop moisture from entering your walls. Your wall must have the appropriate moisture to ensure it is in good condition.
When you allow moisture to linger for too long, the likelihood of various undesirable growths, such as mold and mildew, increases. Asthma, eczema, and headaches are health issues linked to decay and high moisture levels.
The interiors of walls, in particular, are well-suited breeding grounds for moisture-related development since they are shielded from sunlight and fresh air. Landlords should hire a responsible property manager to ensure property repairs are handled.
It is simply too crucial to put your tenants’ health and safety at risk due to something as preventable as moisture in your walls. However, it is advisable to check early and frequently since, if found early enough, you can still successfully prevent built-up moisture from destroying your walls.
3 Tips for Checking Moisture in Walls
1. Check for visible signs
In many cases, a detailed visual examination or, in extreme cases, even a simple spot check will reveal moisture damage in or on a wall.
Let’s say the damage has gotten bad enough to start growing mold or mildew. Then, you ought to be able to see green and black spores slyly hiding along the margins between the wall and ceiling, under heating ducts, behind window panes, or even blooming openly.
If there isn’t any visible mold, there are still a few additional clear indicators of moisture damage that can be seen on or near walls. Peeling paint, yellowish discoloration, warping or buckling surfaces, and other rather obvious warning signs of an issue bubbling underneath.
Leave no stone untouched because every gap in a wall is an opportunity for mold to grow.
2. Take Notice of Unusual Smells
Have you ever entered a space only to be met by a foul, musty scent that makes you want to turn around and leave immediately? Most likely, there was a problem with moisture in the walls.
The smell of dampness that mold and mildew release as they grow and spread can help you spot an issue because it is rather apparent. Curtains, bathmats, towels, and carpeting are a few additional objects that might accumulate moisture and indicate the onset of mold growth.
But if the distinct odor persists even after thoroughly cleaning all the nearby fabric, you probably have a moisture issue with the walls. Try sniffing the walls directly to be extra cautious and observe if the stench worsens.
3. Use a moisture meter
Even if there are no smells or soft areas, a moisture issue in your walls may just be waiting to happen.
Getting inside and inspecting it is the only way to be sure. Although many different moisture meters are available, they all require a small amount of drilling and excavation.
In most cases, you’ll have to use a tiny screwdriver, knife, or another sharp object to make a small hole to slide the meter inside. After that, the meter will provide you with a verified reading of the moisture levels in the general area of its insertion.
For almost every probe test, it is reasonable to anticipate getting a value that indicates some moisture because total dryness is implausible. However, anything exceeding approximately 13% warrants more evaluation and necessary repairs.
How to Correct and Prevent Damage to Walls
1. Damp Areas on the Wall
Finding the source of the moisture is crucial. Pipe leaks need to be fixed right away. Re-grout the tile joints if water seepage occurs in the bathroom or kitchen.
After removing all loose plaster from the wall, internal walls with damp spots should be replastered using cement mortar and waterproof chemicals.
2. Cracks in the wall
Every three to five years, depending on the condition of the walls, it is imperative to do periodic maintenance by renovating the walls. First, if there are any cracks, the surface should be patched up and replastered with cement or gypsum plaster. After that, the walls should receive two coats of acrylic emulsion paint and a coat of primer.
3. Loose Plaster
Loss of adhesion between the brick wall and the plaster causes loose plaster. Tapping on the wall will reveal any loose plaster if you hear a hollow sound.
The brick wall must have its loose plaster removed before being replastered. Remember that the plaster must be thoroughly dried before POP punning, primer, and paint coats are used to complete the project.
Conclusion
A little do-it-yourself energy will help you repair minor water damage to walls. But some problems could be too complex for you to address alone. It is best to call a professional to prevent further harm to your walls or the rest of your property. Damp is hazardous; the longer you wait, the worse the issue will be.
Discover more from Futurist Architecture
Subscribe to get the latest posts sent to your email.


